What renovation program on dry dock for our sailboat?
Our sailboat renovation program on dry dock
The boat is an Oceanis 40CC Clipper, constructed in 1999 and launched in 2000. It’s old and not well maintained, so there’s a ton of repair and renovation work ahead.
The previous owner left everything inside—from personal belongings to condiments. A lot of triage to do!
The previous owner left everything inside—from personal belongings to condiments. A lot of triage to do!
I doubt anyone will read this whole thing, but if you can pick up any tips from our mistakes, here you go…
-Clean up the boat: The owner had a medical issue and couldn’t maintain it for a while, so he’s selling it (with regrets) with all his stuff still inside. It’s up to us to decide what to keep or toss.

-Move in all our belongings onto the boat: It’s maybe 30 m² of livable space. We have to empty it out just to fill it with our own junk.
-Clean up the hull and propellers: Nico and his dad used a pressure washer to remove algae from the hull (not much there), but the antifouling on the propellers didn’t work well.
Both propellers were covered in shells and needed a deep clean.
Both propellers were covered in shells and needed a deep clean.
Day 2
-Clean up the boat: This is taking forever because of all the hidden storage compartments. Plus, we have to sort what we find—tools, documents, you name it.
-Change the 10 through-hull fitting: This was a big job. We couldn’t finish it today. They managed to remove the old ones and prep for tomorrow by buying new ones.
Day 3
-Clean up the boat: Same old story, but this time under the hatches.
-Change the 10 through-hull fitting: Done this time—no more delays. You have to wait a day to connect the pipes, though, for everything to set and dry.
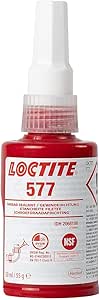
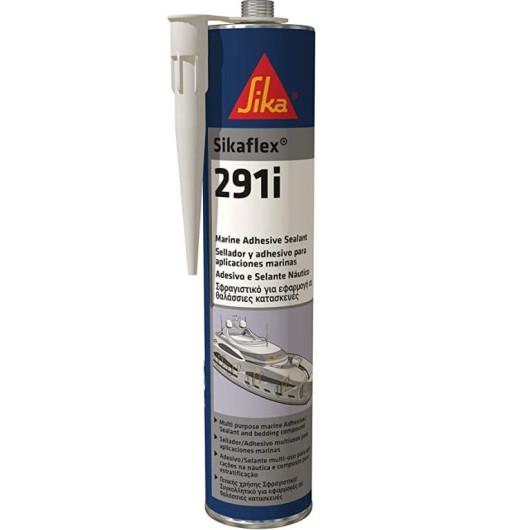
It costed approximately 1500 euros, including all the 12 valves other pipes and different glues needed (Sikaflex 291i costs 15 euros , Loctite 577 costed 40 euros... at the store)


Big tip, buy everythign online before hand if you want to save big bucks.
When you buy them at the rigging store, it'll cost you up to 30-40% more.
-Change the 10 through-hull fitting: Done this time—no more delays. You have to wait a day to connect the pipes, though, for everything to set and dry.
It costed approximately 1500 euros, including all the 12 valves other pipes and different glues needed (Sikaflex 291i costs 15 euros , Loctite 577 costed 40 euros... at the store)


Big tip, buy everythign online before hand if you want to save big bucks.
When you buy them at the rigging store, it'll cost you up to 30-40% more.
-Clean up the fenders: This was pointless. Nico just wanted to test his new cleaning products. We’ll end up buying covers instead.
-Prepping the propellers for anti-fouling paint: I felt like I wasted time brushing and sanding when a polisher could’ve done it faster.
-Prepping the hull for anti-fouling paint: We cleaned the hull more with the pressure washer and added red masking tape.
Day 4
-Anti-fouling paint: We applied masking tape first.
Three of us painted the hull—took just under 2 hours.
We added a second layer later, but only 15 cm along the waterline where there’s the most movement.
Three of us painted the hull—took just under 2 hours.
We added a second layer later, but only 15 cm along the waterline where there’s the most movement.
We bought 3x 2.5L Micron 350, it costed 185 euros each. So a total of 555 euros.
-Masking tape for the de-yellowing clean-up: Normally, you de-yellow the boat first, then do the antifouling.
We did it backward because we originally had only 3 days on dry dock.
We prioritized the through-hull fittings and antifouling, but later got a 3-day extension—the max they’d give us.
With extra time, we prepped for de-yellowing by taping lengthwise and folding the tape into gutters so the acid wouldn’t drip onto the fresh antifouling paint.
-We removed some of the original Beneteau stickers: Just the sticker lines. Nico used a hairdryer to melt the glue.
Day 5
-De-yellowing the hull: Took 3 hours per side.
We used Nauticlean 02 (an acid) for de-yellowing—you need full protection head-to-toe. I got some on my face and wrist, and my face was bloated for days.
Nauticlean 02 works wonders on removing rust!
Check the wind direction when spraying!
We also used Nauticlean 03 for black marks (worked fine) and acetone for glue marks—still not sure why there was glue on the hull.
Those products cost approximately 20 euros each. 23 euros for the bigger format without the spray.
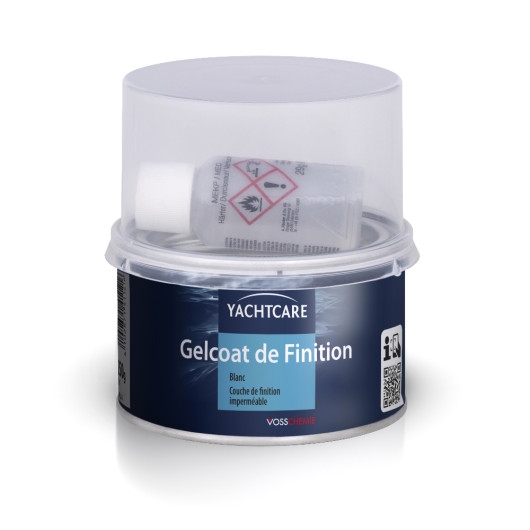
The gel coat costs approximately 34 euros.
-Connecting the pipes to the through-hull fittings: Nico’s dad handled this. Problem: not all spare parts arrived. With 2 days left, we might have to source them elsewhere if they don’t show up.
-Clean-up the cockpit and deck: Water restrictions at the harbor mean no pressure washer after launch. We had to do it today since tomorrow’s for painting.
-Paint the boat: Painting that small green line above the antifouling sounded easy, right? Wrong. You tape 24 m per side, sand the old paint, clean the dust, then paint.
Problem #1:
I painted one side, but the dock lady said with today’s humid marine wind, it wouldn’t dry by tomorrow’s launch.
No extension possible—another boat’s coming when we leave.
Problem #2:
Nico messed up the gel coat repair. He used painter’s tape to “mark”where he put the gelcoat, but it wasn’t suitable and left glue marks he had to remove with acetone, and it took ages. No sanding or waxing happened that day.
So, I couldn’t paint that side yet—dust would ruin it. Time was tight. We decided I’d paint anyway, one layer only (saved 40 euros). We used “Bleu France” Starlac paint.
Problem #3:
Bubbles formed on the last side in the afternoon (not in the morning). Maybe condensation from a cool hull? Nico used a hairdryer to heat it first.
Problem #4:
Mosquitoes got stuck in the paint. I squashed one with a brush, making a mess. For the next, I used masking tape to lift it off—worked great.
Mosquitoes got stuck in the paint. I squashed one with a brush, making a mess. For the next, I used masking tape to lift it off—worked great.
Problem #5:
Problem #6:
The paint roller left fabric crumbs. Should’ve swapped it out. Removing them was a nightmare—not sure I got them all.
Problem #6:
Masking tape didn’t fully come off—bits stayed on the hull. A cutter worked to remove them.
Apart from that, we made it!
-Finish the plumbing: Nico’s dad hasn’t connected all the pipes—issues with sizes not matching the fittings and parts arriving late morning.
-Antifouling paint on the propellers: Nico applied Spraymax epoxy (needs 48 hours to dry, but we had just over 24). It costs 18 euros.
We covered it to keep the temperature right, then sprayed Soromap AF4 antifouling—4 or 5 layers, 10 minutes apart, using it all. It did cost 34 euros.
-Fender covers: Nico’s mom covered 6 of our 10 old fenders. Couldn’t find all sizes—might order online.
-Gel coat: Nico missed some hull holes and added more gel coat today. You have to sand the surface first.
-Moving back: We’d put stuff outside to clean the deck—had to move it all back and reattach the fenders. I still can’t tie knots, even with my new boat license!
-Glue removal: Glue was on the floor for some reason. I spent the night scraping it off delicately—no scratches on the wood.
Day 7 (Launch)
-Plumbing: Nico’s dad needs to finish. We didn’t attach some pipes—no time. We’ll do it later.
We leave at 11 a.m. and have to pay everything beforehand—it’s gonna be $$$$ with all we bought. The 6-day dry dock, spare parts (through-hull fittings, glue, antifouling paints, pipes), and launch cost us 2,000 euros. See the (undetailed) costs in March’s monthly report.
Last morning tasks:
-Plumbing: Nico’s dad needs to finish. We didn’t attach some pipes—no time. We’ll do it later.
-Gel coat: No time to sand or wax—we’ll do it from the dinghy at port.
-Remaining Antifouling: They lifted the boat so we could paint where the supports and keel were.
Tips: Bring cardboards to cut them out as protections to put on top of the straps when they lift up the boat.
-Fenders: Reattached to the boat.
-Clean up: I did last-minute cleaning to check for leaks. There are some—we’ll fix them later. They’re damaging the wall and floor panel (yellow hole). I cleaned 99% of the underfloor panels by the end.
We finished just in time for launch!


Comments
Post a Comment
Let us know what you think!